Gladiolus, aka sword lilies, produce showy flowers with sturdy stems, popular for cutting and vase arrangements. They grow from flattened bulbs called corms.
They thrive in full sun with moderate moisture and rich, well-draining soil. Mature dimensions are 18 to 72 inches tall with a spread of 12 to 24 inches.


We link to vendors to help you find relevant products. If you buy from one of our links, we may earn a commission.
The corms are tender bulbs that are winter hardy to Zone 7. In colder regions, gardeners enjoy them as annuals and dig them up for winter storage.
Our guide to planting and growing gladiolus has all you need to enjoy plants at your house.
This article discusses how to lift, cure, and store the corms to replant in the spring.
Here’s what we’ll cover:
How to Lift and Store Gladiolus
Let’s get started!
Ready to Dig
When summer draws to a close and the nights grow cooler, gladiolus blooms fade and the foliage begins to wither; it’s time to dig up the bulbs.
While a light frost may not harm them, a hard freeze could be deadly.


You’ll need gloves, a long-handled shovel or pitchfork, a hand-held trowel or claw, and pruners.
Sanitize all metal parts with a solution of one part bleach to nine parts water, rinse, and air dry before use.
Lifting and Curing
Wear gloves when handling gladioli, as the corms are toxic, and contact with the skin and digestive tract is best avoided.
You will need a long-handled shovel or pitchfork that enables you to use foot pressure for easy digging.
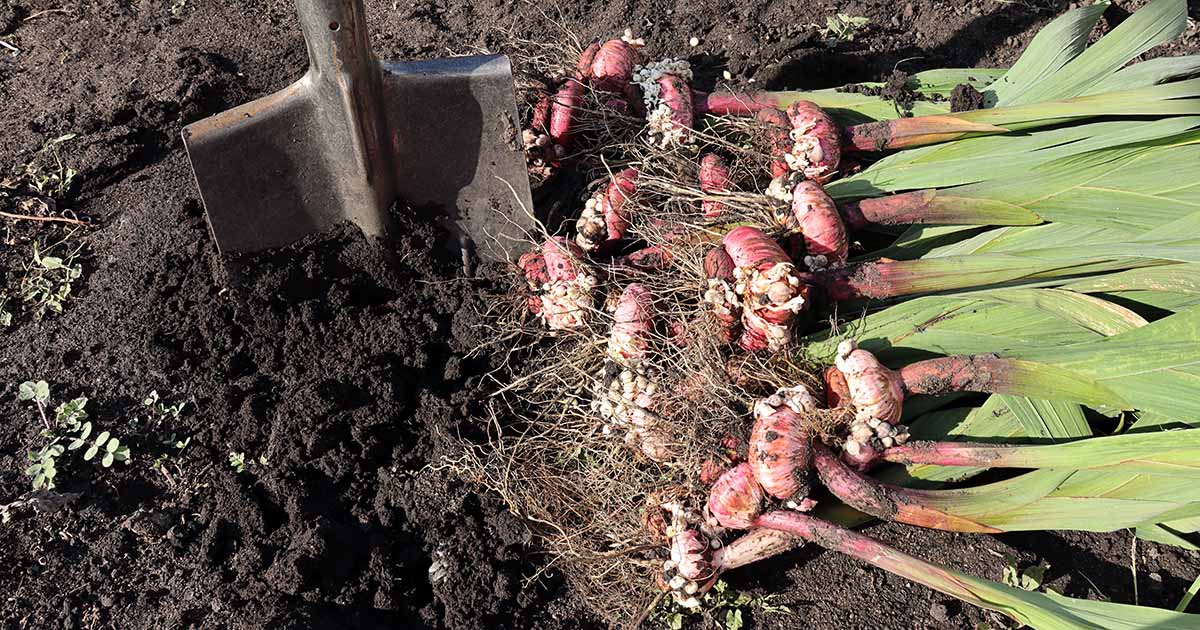
Use your foot to insert the shovel or fork straight down into the ground about six inches away from a clump of foliage.
Push the handle down toward the ground to gently loosen the soil.
Work around the leafy clump using the same insertion and lifting motions until you have detached and raised a mound of soil.
Use a handheld garden trowel or claw to remove the individual flattened bulbs carefully from the soil.


Brush off as much earth as you can, taking care not to remove the paper tunics that protect the corms. Do not wash them to avoid the risk of fungal development.
Use pruners to cut off the foliage, leaving a two-inch portion attached to the top of the corms. Cut off the roots, taking care not to nick the underside of the corms.
Once unearthed, the tender bulbs need to “cure” or dry before you place them in storage. Discard any that are discolored, soft, blemished, or shriveled.
Old, dried up corms and tiny fresh young ones may be attached to the large “mother.”
Remove any that are dried up and leave the young babies attached, so you can divide them in the spring before replanting, rather than risk rotting during storage from separation wounds.
Spread the corms in a single layer on newspaper or screens and keep them out of direct sunlight in a dry location with a temperature of 60 to 70ºF for three weeks.
Winter Storage
After the three-week curing period, examine the corms carefully and discard any that are damaged, discolored, shriveled, soft, or malodorous.
Remove dried up foliage and roots that have fallen off and brush off any remaining soil, taking care not to damage the paper tunics.


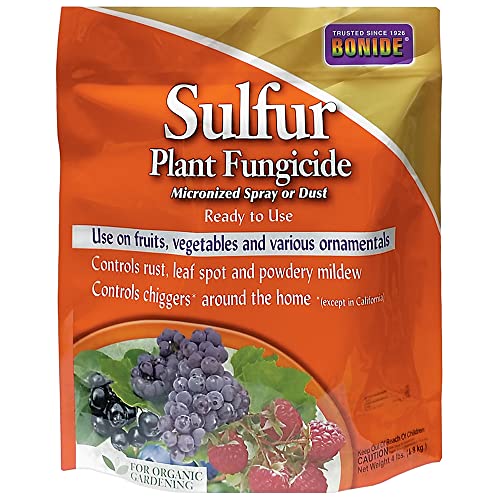
Before putting the bulbs into storage, it’s best to sprinkle them with a dusting of fungicide to inhibit fungal growth during winter storage.
I use Bonide Sulfur Plant Fungicide and it’s also an effective pesticide for ticks, mites, and fleas.


Bonide Sulfur Plant Fungicide
Bonide Sulfur Plant Fungicide is available from Bonide via Amazon.
To store your corms, you can either use clean, dry cardboard boxes or purchase ventilated plastic stacking crates.
If you plan to use ventilated plastic crates, here are some to consider:
These gray plastic crates measure 13.86 by 10.4 by 7.1 inches and have a volume of 15 liters.


Plastic Stacking Folding Storage Crates
They stack securely and are collapsible for folding and placing out of the way when not in use.
You can find them in three-packs available from Idotry via Amazon.
When you have your box or crate ready, line the bottom with one or two sheets of newspaper.
Set the corms in a single layer, ensuring that they aren’t touching each other.
Sprinkle your fungicide powder lightly over them.
Lay newspaper over the first layer and repeat the above process. Make sure you leave enough room so that the box closes without pressing on the corms.
The box lid or folded flaps should fit loosely so air can enter and circulate.
Instead of newspaper between the layers, the pros at the University of Wisconsin-Madison Wisconsin Horticulture Division suggest using two to three inches of coconut coir, peat moss, sand, sawdust, vermiculite, or wood shavings.
Store the box or packing crate in a cool, dry, rodent-free, well-ventilated location with a temperature between 35 and 45ºF and relative humidity of about 50 percent.
Check the boxes or crates regularly throughout the winter and discard any bulbs that shrivel up or become soft and moist. If you are using newspaper, change it if it feels damp.
Lift, Cure, and Store
Managing gladiolus over the winter months is easy after you do it once and know the drill.


Let’s recap:
- Lift the tender bulbs carefully with a fork or shovel and remove foliage, roots, and soil.
- Cure them in a single layer for three weeks in a cool, dry location to remove moisture.
- Store them in well-ventilated containers with a sprinkle of fungicide and newspaper or absorbent organic media between the layers so they don’t touch.
Now you know how to save corms from year to year. Be sure to add “Lift the Glads” to your garden planner so you remember to take them out of the ground before the first hard frost.
Do you lift your gladiolus for the winter? Please let us know how you store them in the comments section below.
If you found this article informative and would like to learn more about gladiolus, we recommend the following guides next:


